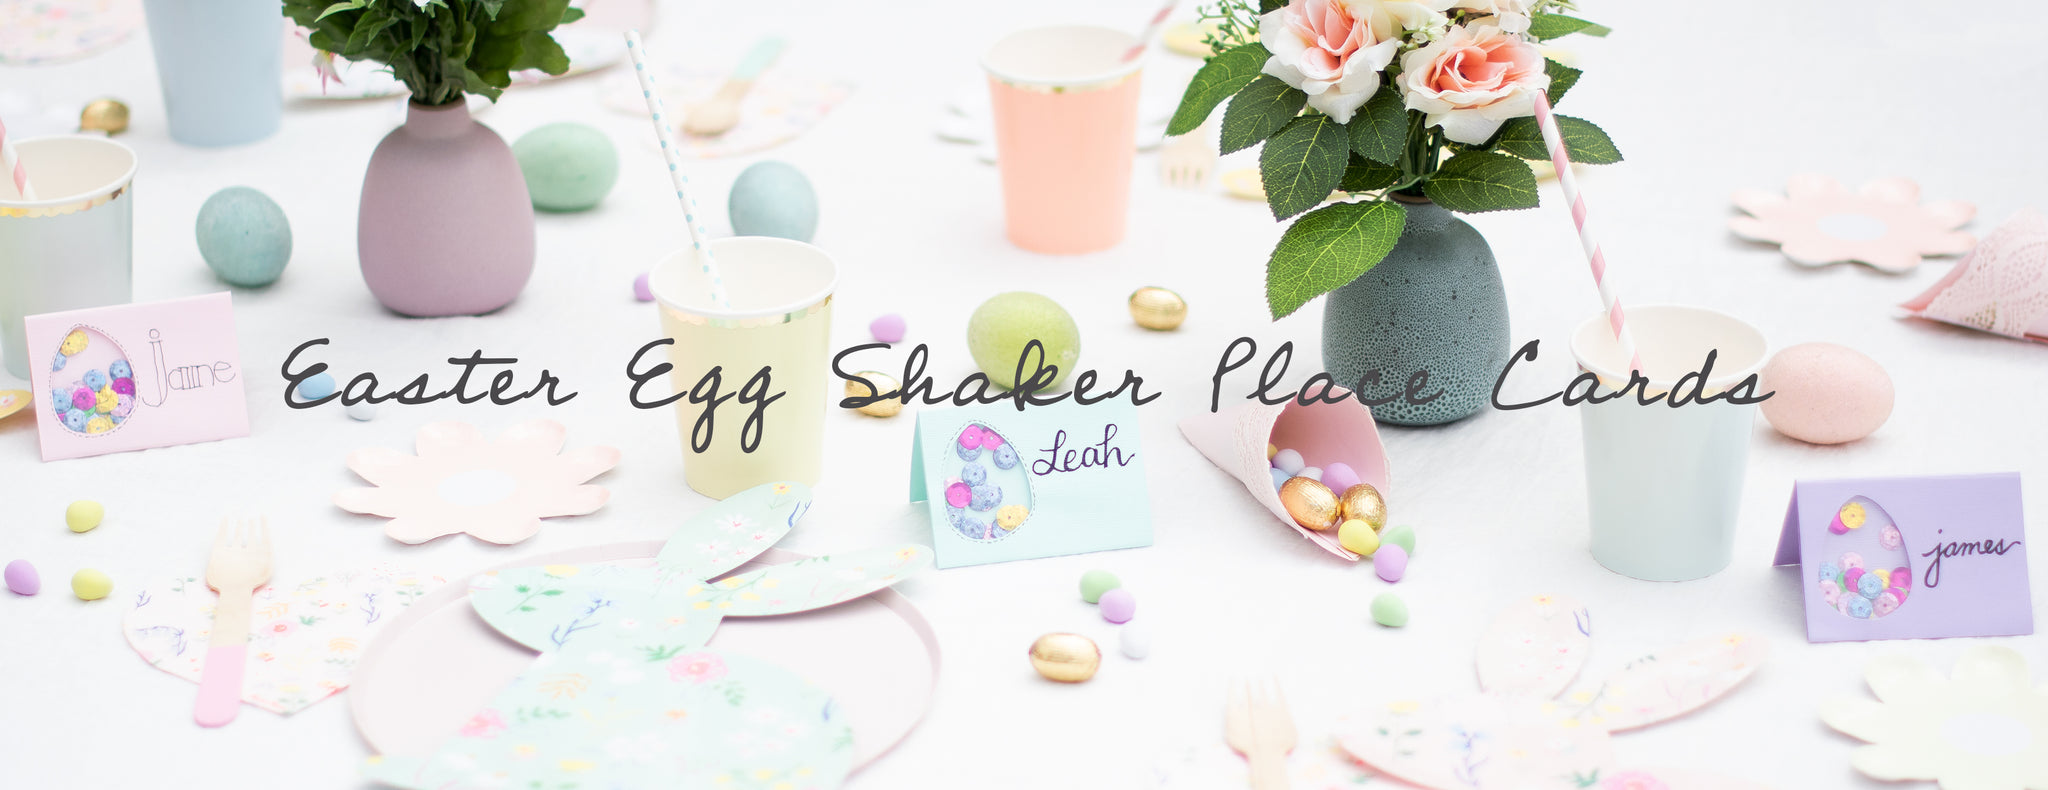
DIY - EASTER EGG SHAKER PLACE CARDS
We feel that the best touches at any party are those that are homemade and personalized, and little guests will love seeing their name on a personalized place card. Add some fun, sparkle and colour to your Easter tablescape with these easy to make Easter Egg Shaker Place Cards!
Materials
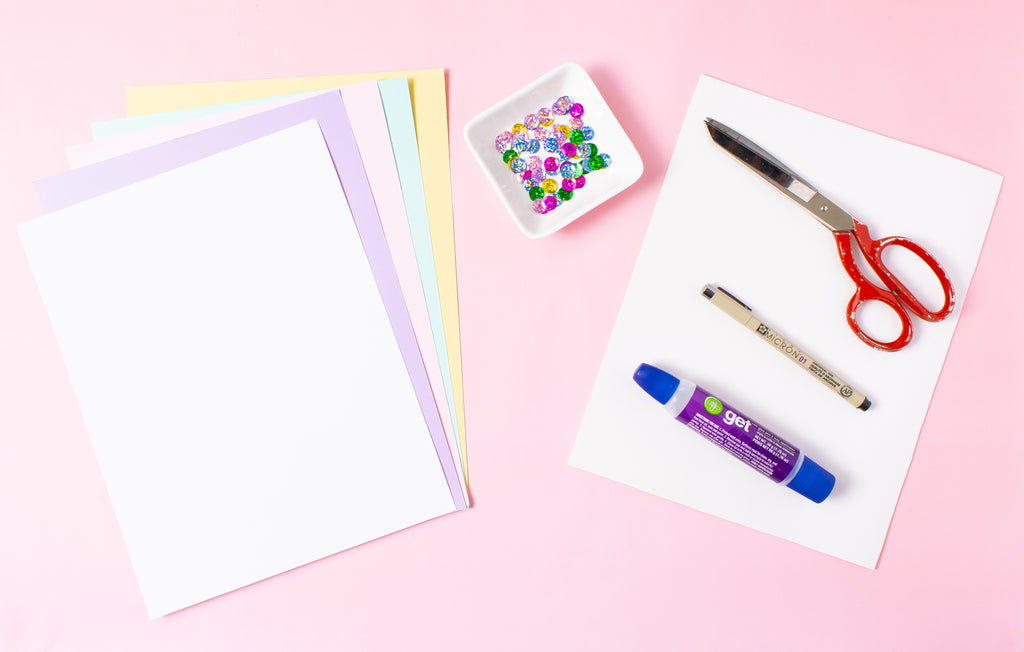
* Cardstock (We picked pretty pastel hues to match our Easter table)
* 1 sheet of Acetate
* 1 white foam sheet
* Sequins (In any colour combination of your choice)
* Scissors
* X-acto knife
* Glue (We used rubber cement)
* Fine black pen
* Our downloadable Easter Egg Shaker Place Card template
Instructions
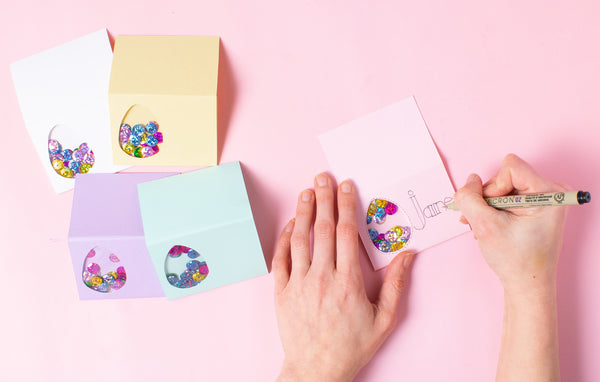
Print out the Easter Egg Shaker Place Card template onto the cardstock. Each template has two place cards.
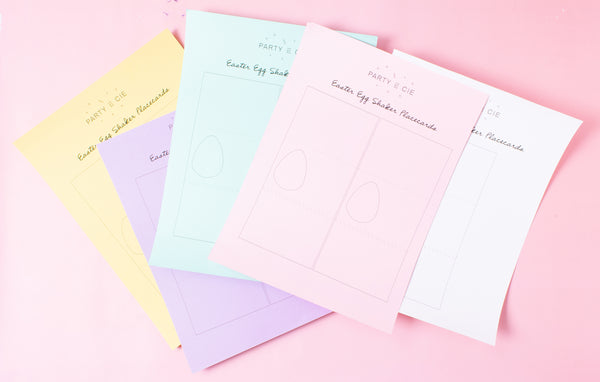
Cut out the template, and cut away the egg shape. We found it easiest to use an X-acto knife to cut the egg away. If you have a Cricut machine, feel free to use this here! Taking your foam sheet, cut rectangles that measure a hair smaller than the middle rectangle on the template (a touch smaller than 3.5" x 2").
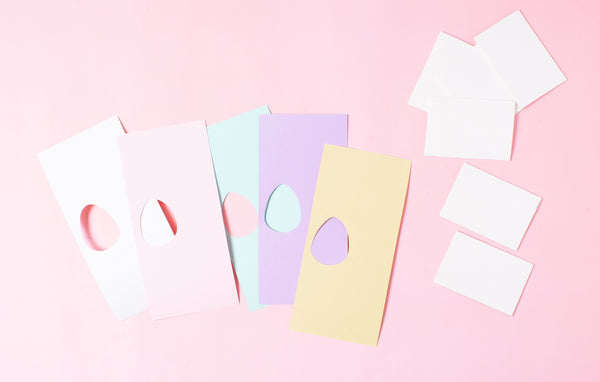
Placing the foam sheet behind the egg cutout, trace the egg onto the foam sheet rectangle, and cut out the egg shape on the foam sheet rectangle, again a hair bigger than the cardstock cutout so it doesn't show through to the front.

Cut out rectangles of acetate, large enough to cover the egg cutout.
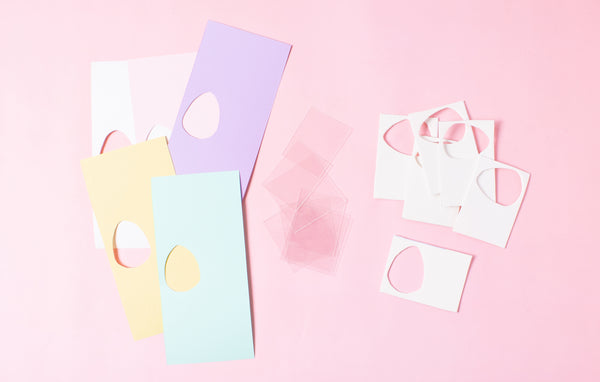
On the backside of the cardstock, glue the acetate to the cardstock, placing properly to make sure the egg is covered, creating an egg "window". Then glue the foam sheet on top. This is to create a small space to allow the sequins to shake around.
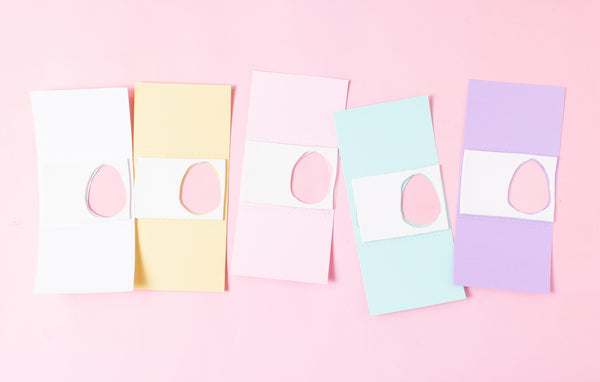
Fill the egg "windows" with sequins. We liked to make it look full, but make sure you leave some airspace to allow the sequins to shake around.

Placing glue on the foam sheet side, fold up the bottom cardstock section and seal off the sequins in the window.
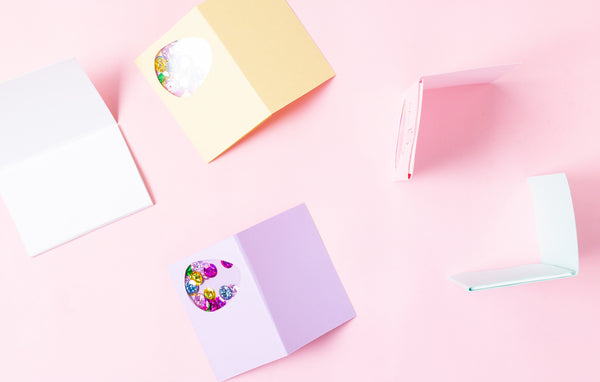
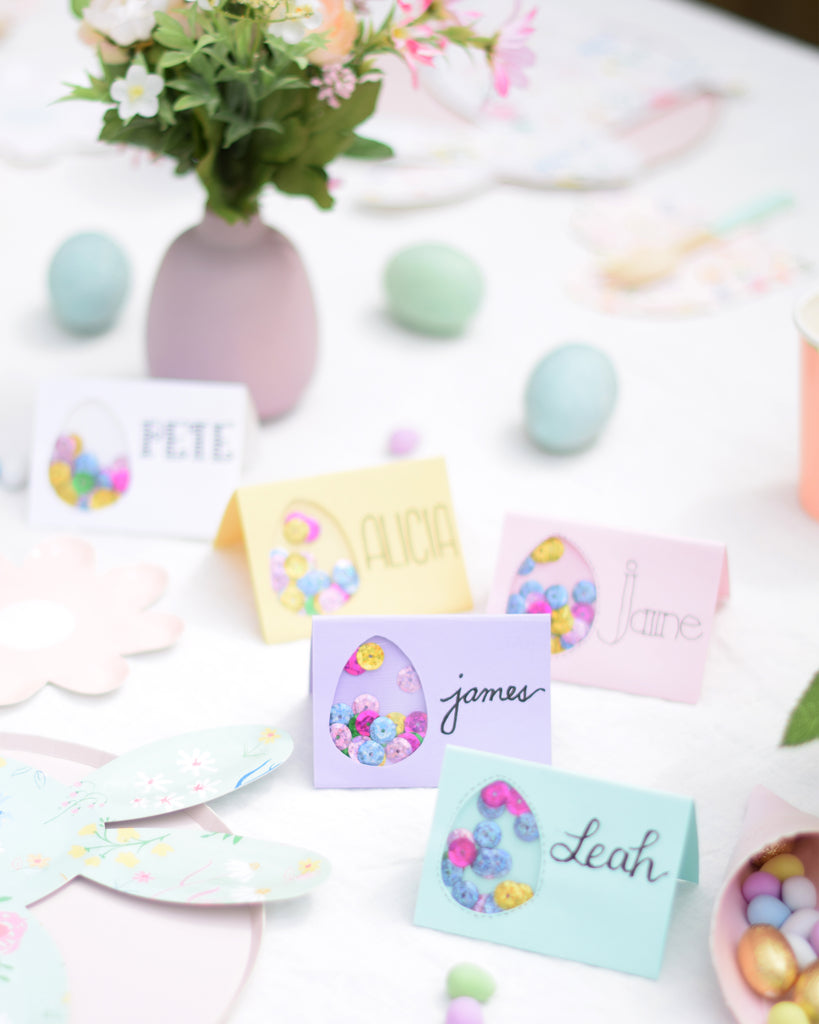
Add your guest names to the front of the placecards. Our talented friends over at SmilesAndScribbles did some fun lettering! We also added some "stitch" lines around the eggs for a more finished look, but feel free to add as many details as you like!
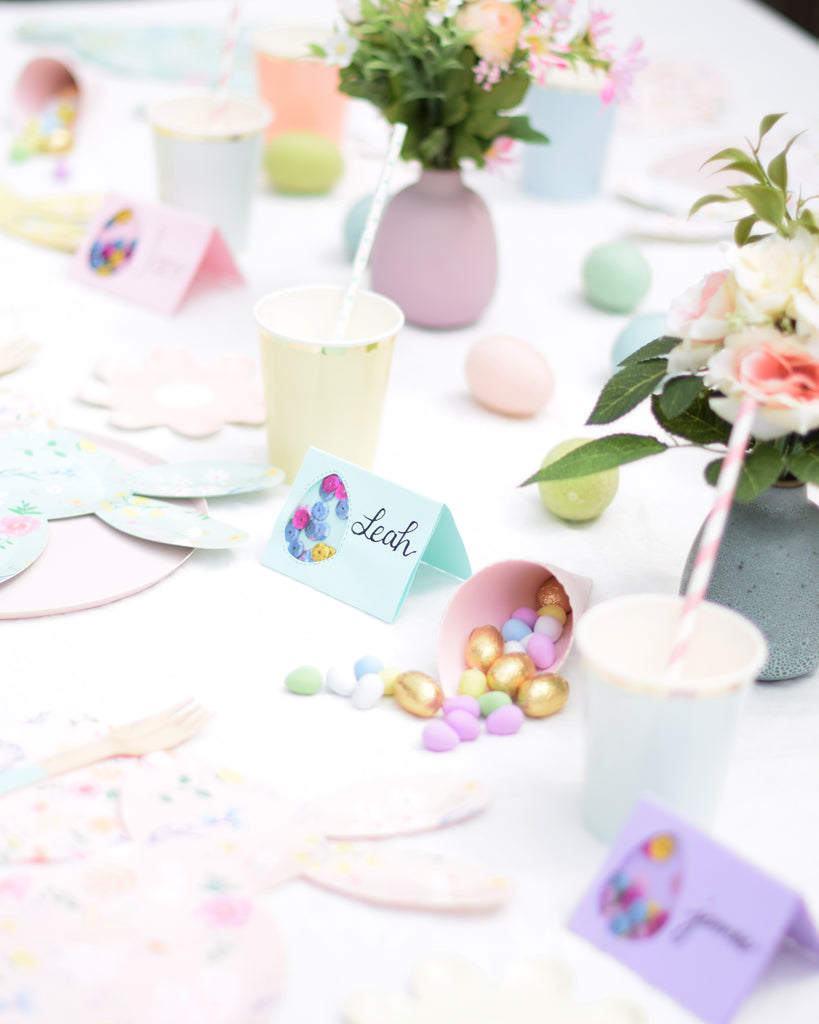
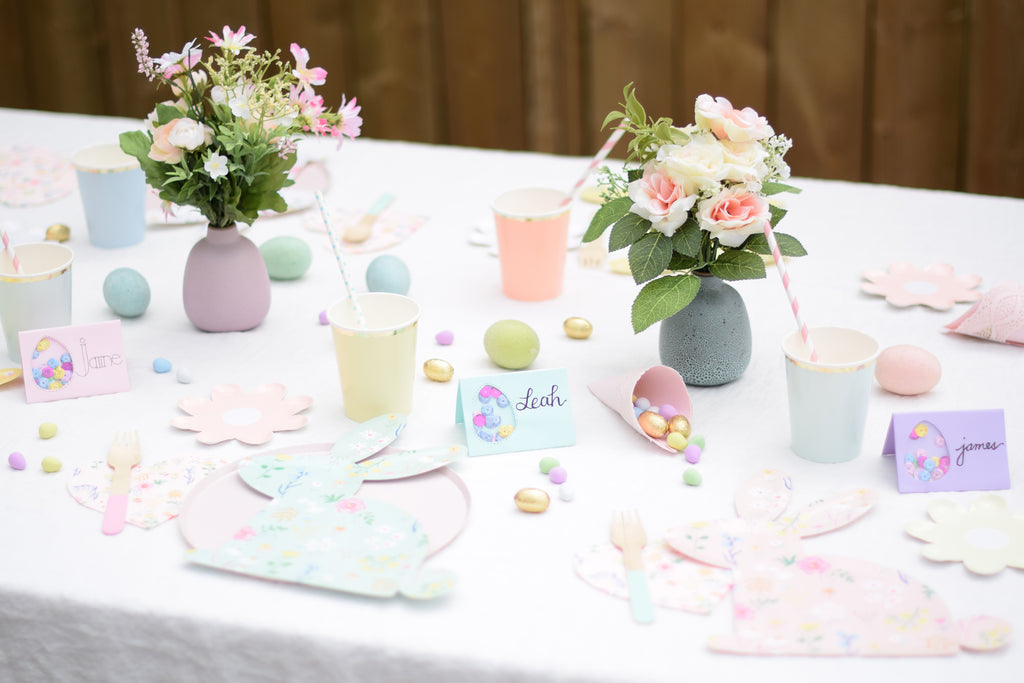
Place at the setting of each guest for a sweet, fun and personalized detail!
* * * * *
* * * * *
* * * * *
* * * * *

