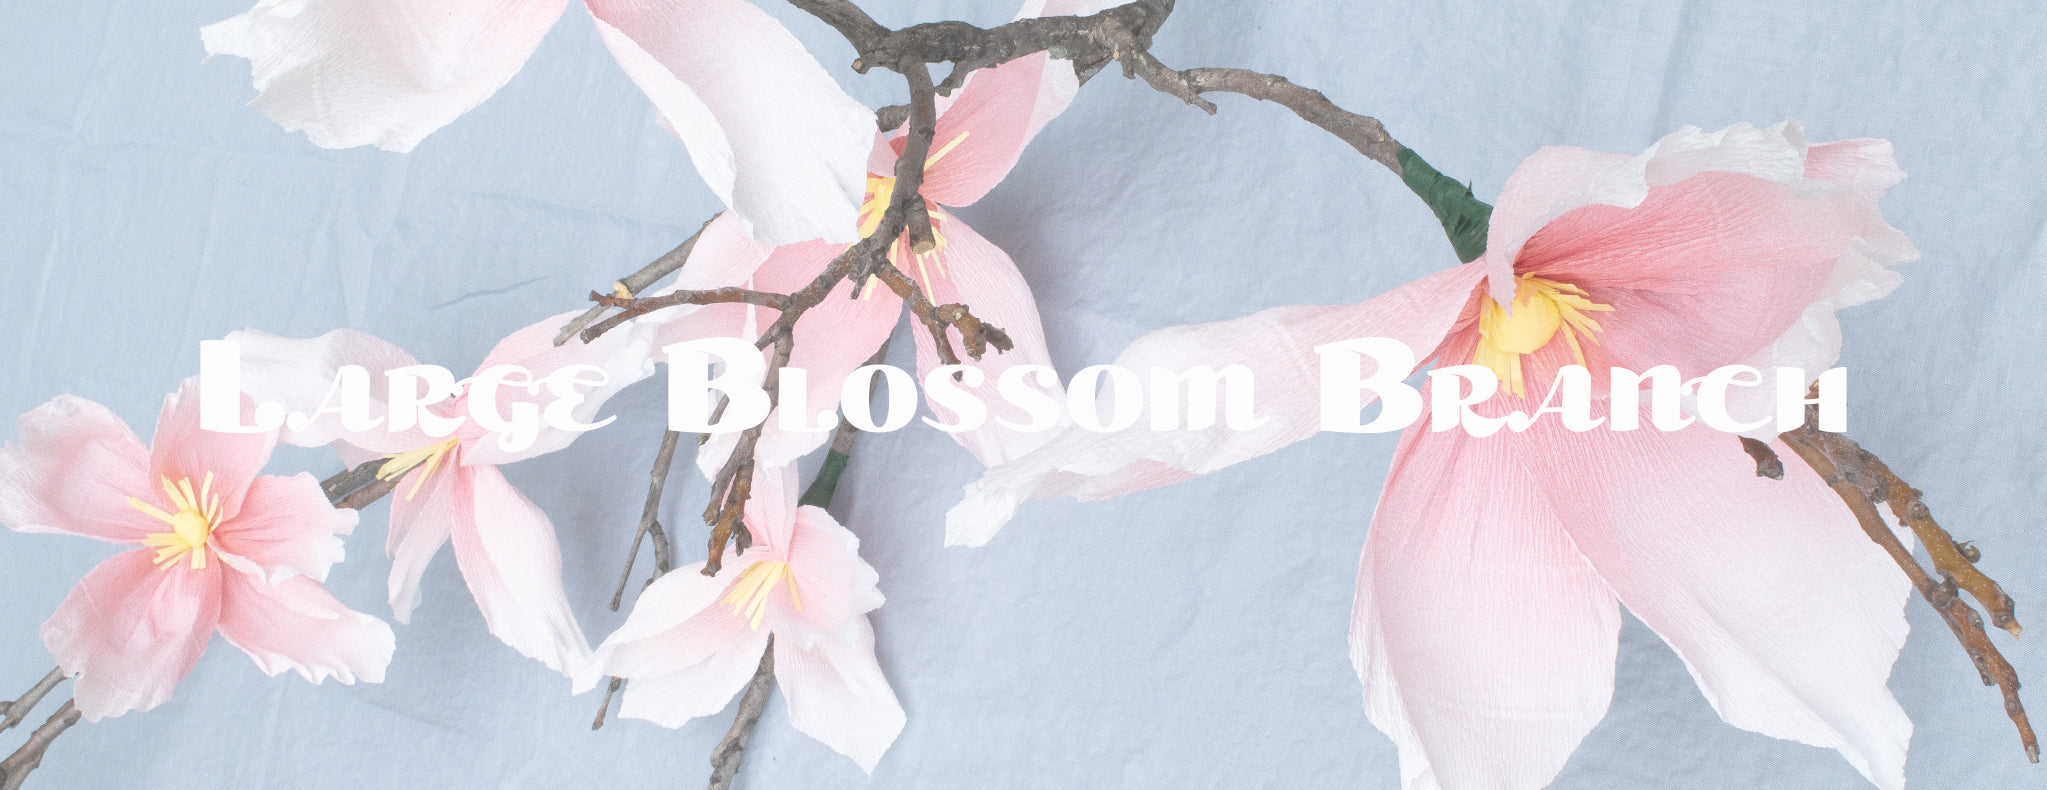
DIY - LARGE BLOSSOM BRANCH
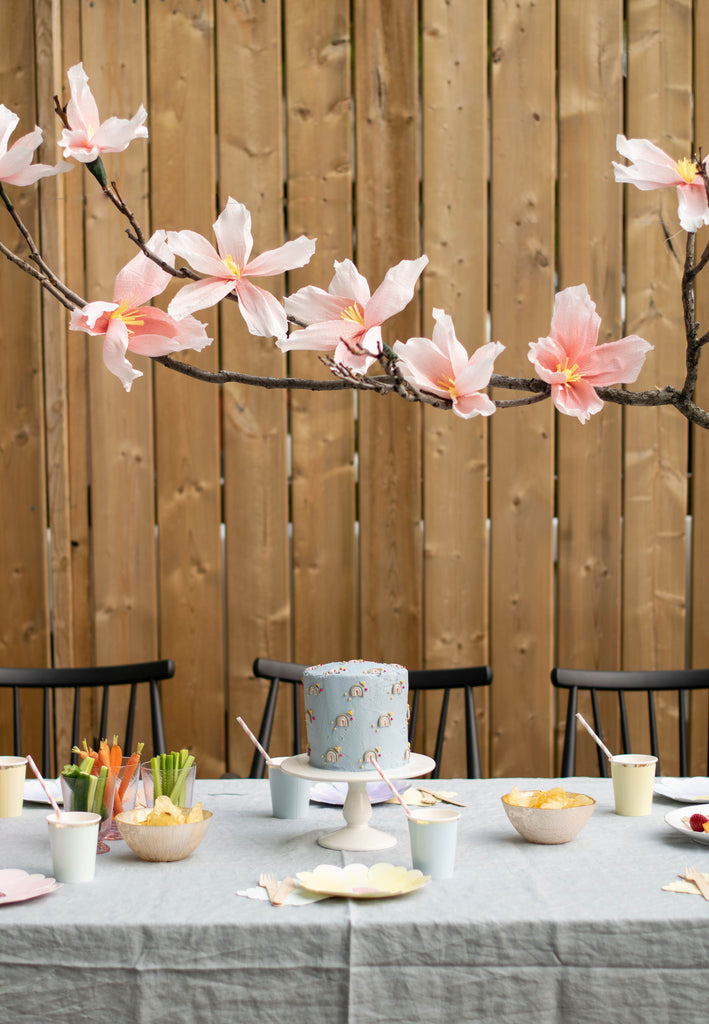
It's no secret we love homemade and DIY'd party details, but this Large Blossom Branch takes the cake in our hearts because it's so unique. While balloon decor is all the rage these days (and for good reason, they're beautiful!), we wanted to take a different direction in creating a statement centerpiece. At our last Party et Cie event, "A Sweet Spring Party," we featured an oversized crepe paper flower branch as the central decor piece. Nothing screams spring like blossoming flowers, so we decided to amp up this idea and make them oversized! Suffice it to say it was a huge hit with the party guests, and we are happy to finally share this DIY with you!
Materials
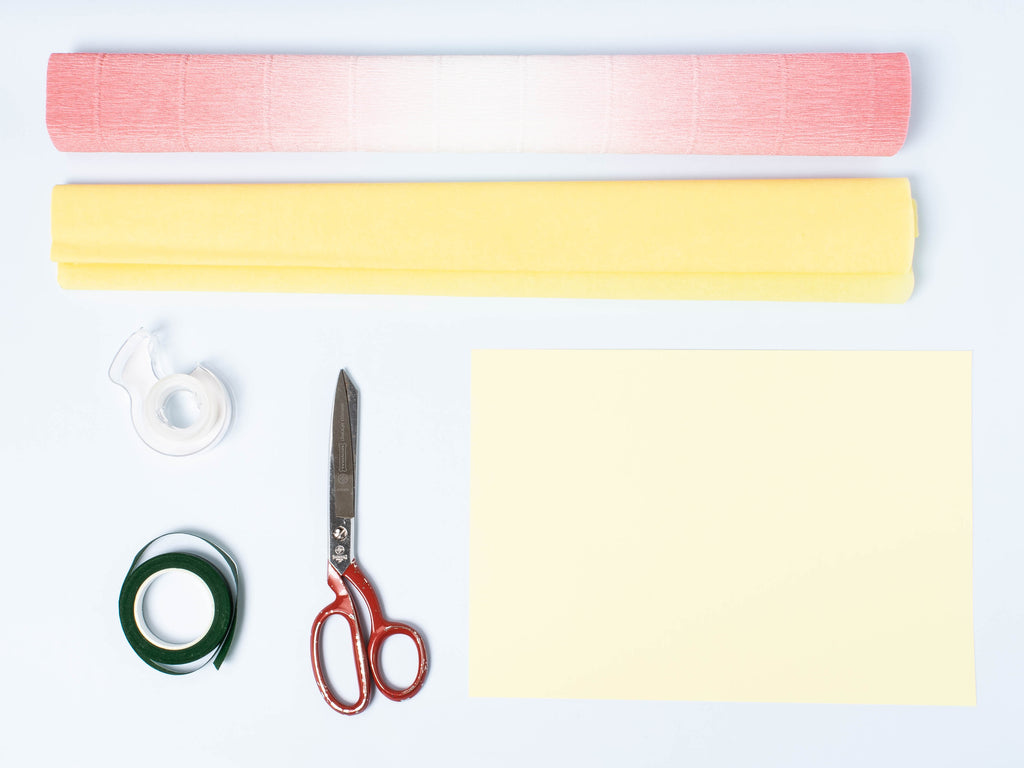
* Good quality Crepe Paper in the colour of your choice. We picked a white/blush ombre for the petals, and butter yellow for the stamen. (We purchased ours from The Paper Place in Toronto)
* Cardstock in your stamen colour
* Floral tape
* Scotch tape
* Scissors
* A large branch (not pictured, but we found ours on the street!)
* Our "Large Blossom Branch Petal Template" download. We have included two sizes so you can pick the one that suits you, or do a mix of both!
**Note: For installation we suggest 20 gauge galvanized steel wire strung between two picture hanging nails
Instructions
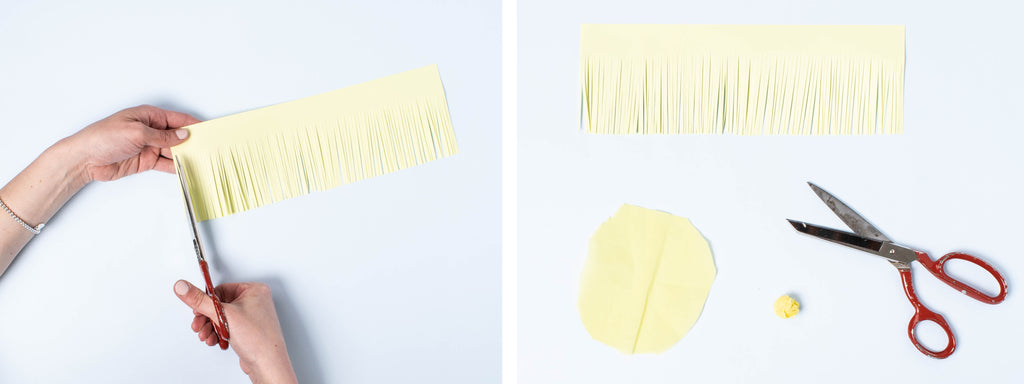
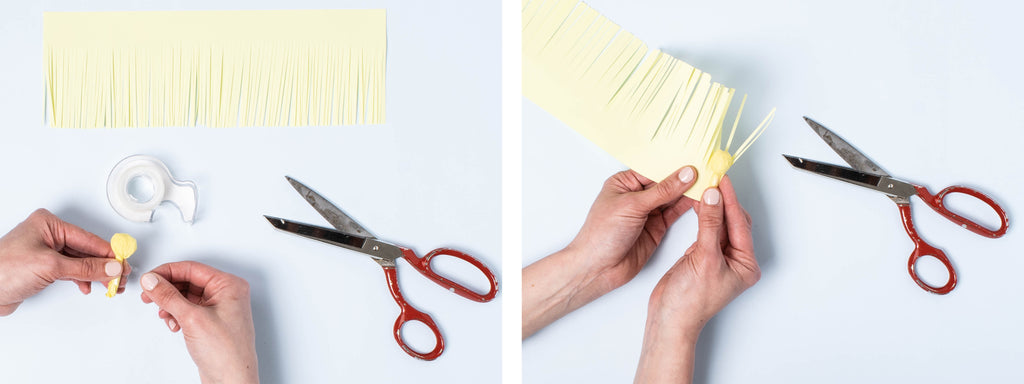
Cut an approximately 3" wide length of your cardstock and leaving 1" uncut, cut narrow fringes. Take some scrap paper and roll it into a tight ball. The ball should measure approximately 3/4" in diameter. Cut out a rough circle shape in your stamen colour crepe paper approximately the size of your hand.
Place the paper ball in the center of the circle, then wrap and tightly twist around the ball.

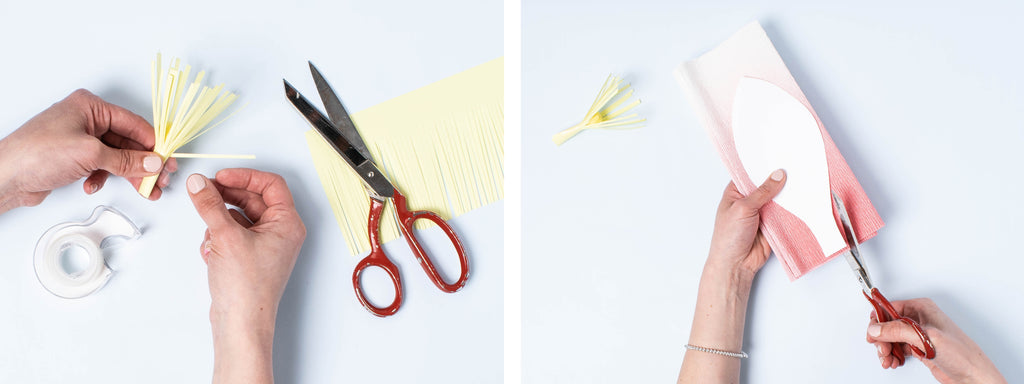
To secure the stamen, wrap a piece of scotch tape tightly around the base. Then wrap the fringe tightly around the base with the uncut side.
Secure the stamen fringe with a piece of scotch tape. Using our Large Blossom Branch Petal Template, cut out 5 petals from your petal colour crepe paper.
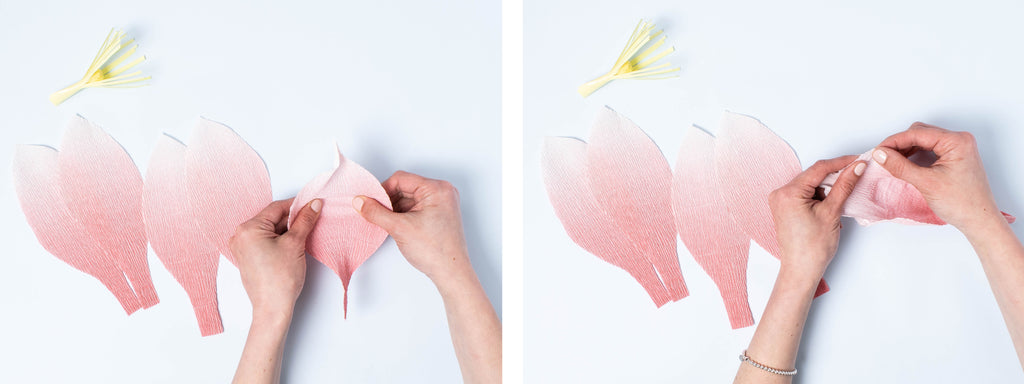
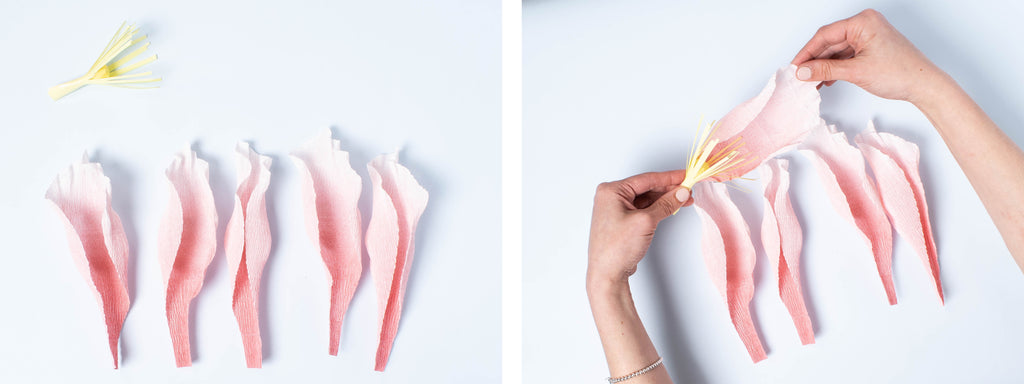
Stretch and round out the middle of the petal, smoothing as you go. Then along the top outer edges, alternate stretched and non stretched sections to create a little ruffle.
Take the stamen base and begin to place your petals around, slightly overlapping as you go.
Secure the petals with a piece of scotch tape. Now you can start to open up the petals and begin to position them as desired.
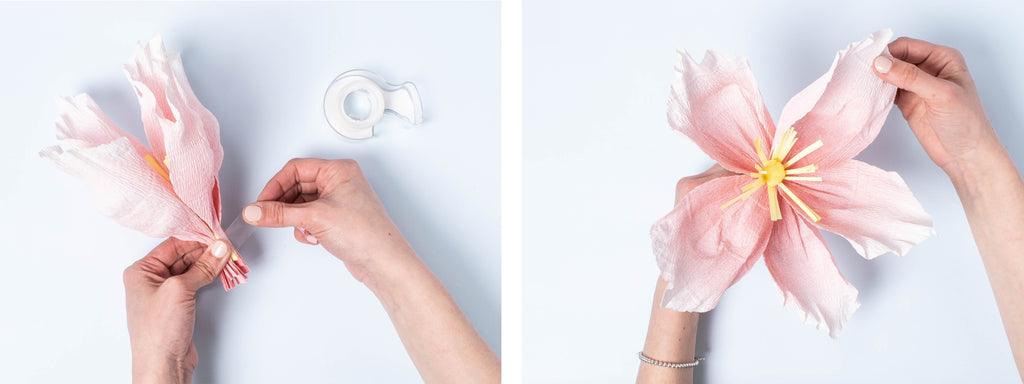
Using the floral tape, wind the tape around a branch end and flower base to secure the flower to the branch. Floral tape is tricky to use - it sticks only to itself and you need to stretch out the tape to activate the wax. So the tighter you wind, the better it will stick.

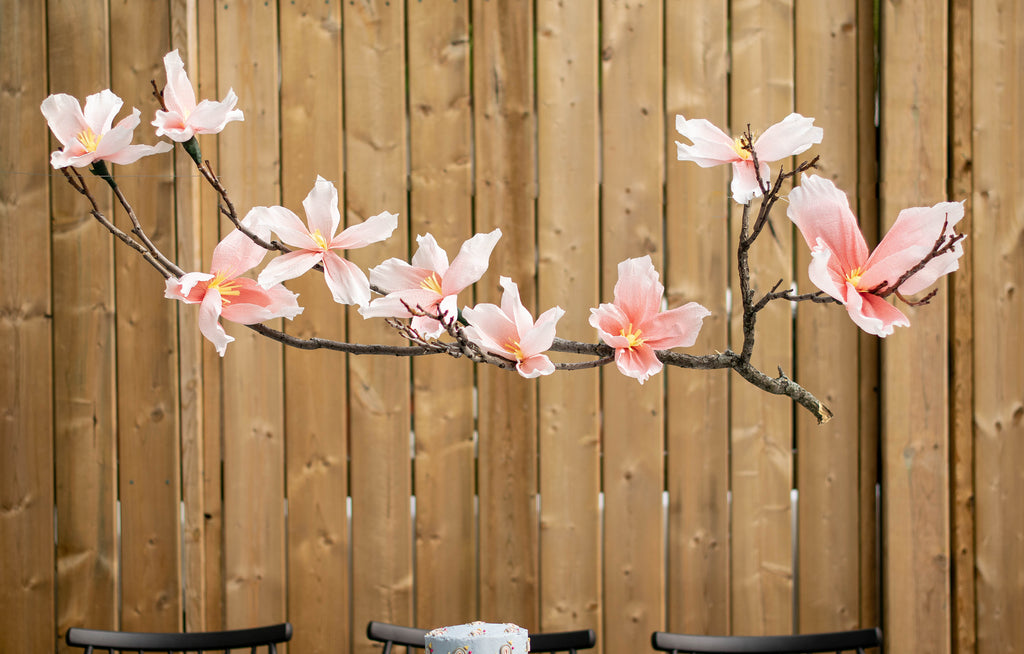
Finally, we suspended the flowers by tying the branch with twine to a 20 gauge galvanized steel wire strung above the center of the table.
Enjoy a sweet spring luncheon under a large floral branch!
* * * * *

* * * * *